The built in watermark text does not support Unicode text. In this example you will see how you can easily create a Japanese watermark text and use it when printing from Notepad. Of course you can also use technique for other languages and when printing from other applications.
First you open a program such as Microsoft Word to produce the watermark with the Unicode text. In Word there is a watermark feature that helps you create diagonal text on your document background. We can use that in this example.
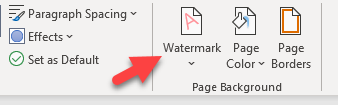
Select the watermark tool from the menu
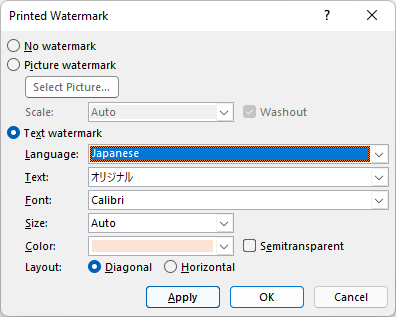
The Printed Watermark dialog will appear and you can set the watermark properties as you please.
Setting the watermark text, font and color
With the watermark in place you have an empty page with at diagonal text. The next step is to export this Word document to a PDF. You can use the built in export functionality in Word or print it to the PDF printer.
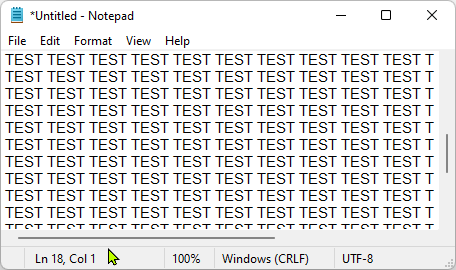
Now that we have the watermark PDF, we can start using it. In this example we have a simple Notepad document that we want to print with the watermark.
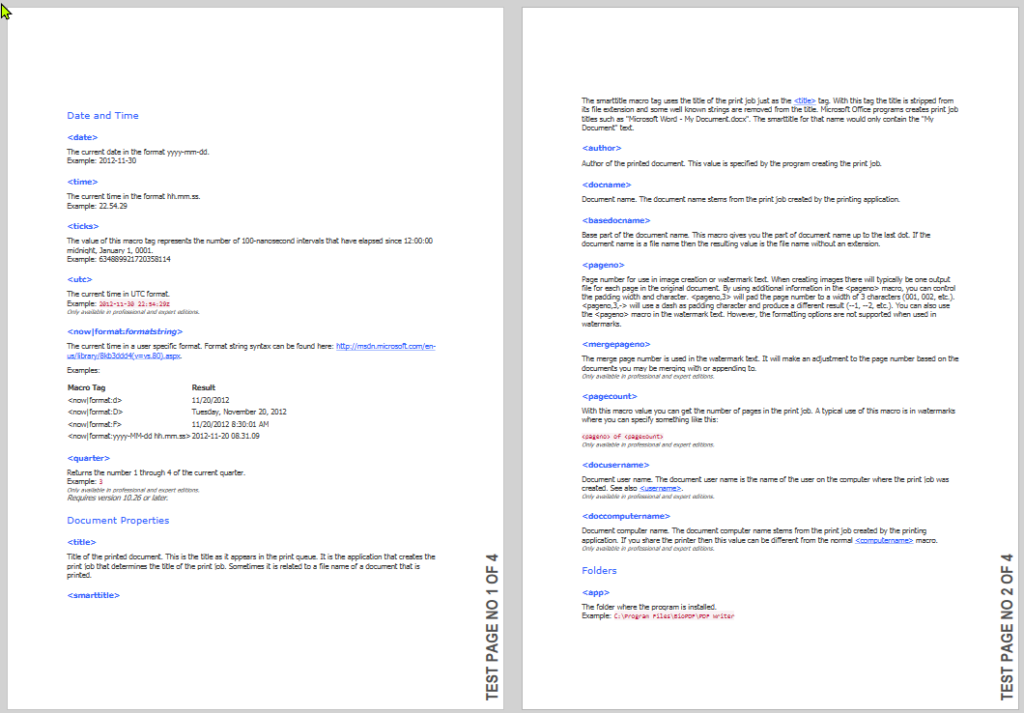
Sample document to print with a text watermark
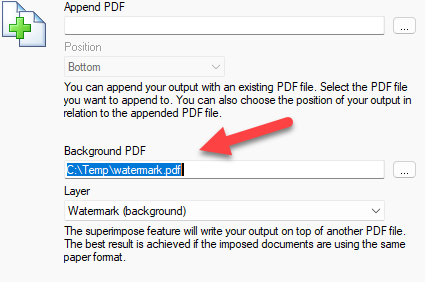
When you print this document to the PDF printer, you must click the Merge tab to specify the watermark PDF file as the background.
Setting the watermark PDF as the printed background
That’s it. You are done. The result will look like this.
How do you set up the default save location for your PDF documents? This is a common question we get from the users of the PDF printer.
The answer is simple, and the possibilities are endless if you want to do advanced stuff.
First the simple answer
You simply open the Options dialog from the Start menu. In there you change the File Name setting to your preferred location and file name.
When you specify the output path, you can use Macro Tags to make the file name Macro Tags to make the file name a bit more flexible. These tags are substituted with dynamic values that may depend on the current date and time or settings on your specific machine. It can also get information from the print job or even run a script.
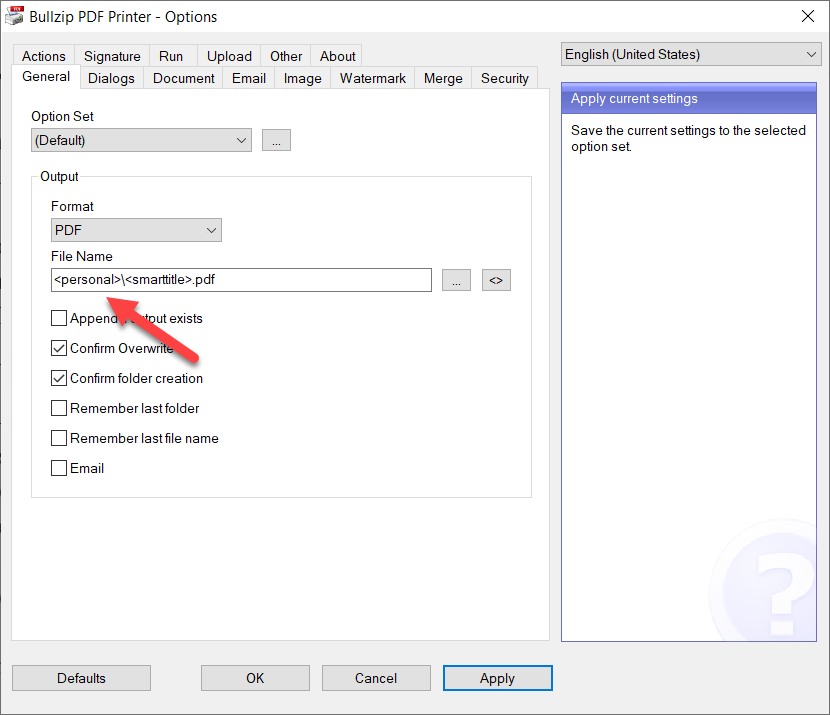
The most used tags include <desktop>, which points to the location of the desktop, or <personal>, which is your personal documents folder on the machine.
This is what it looks like:
Setting a default PDF file name
Now, the advanced answer
The macro tags can tap into information such as environment variables, system time, print job information, counters, unique id generation, and running scripts.
You can learn more about these macros at the BioPDF web site.
Information about the default save location is stored in the Output setting in the configuration files.
What about the name of the source document?
Users ask us why there isn’t a macro for the name and location of the source document. For example, this could be the docx file printed from Microsoft Word or a text file in Notepad.
The problem is that we need to know the source document’s file name. Unfortunately, all the printer see is a print job, which does not contain information about its origin. Instead, it has a limited set of properties set by the printing application. These include the author and the document name, but it is entirely up to the printing application to set those to something meaningful, and again, the source file name and location are not among them.
If you want the printer to generate file names automatically and have a counter or unique id as part of your file name, this will show you how.
When you open the printer options from the start menu, you can set a file name to use when a print job is created. This file name can contain tags, which are substituted with other values when printing.
Tags can give you information such as timestamps, user names, machine names, and much more. A couple of these tags have functionality for counters and unique id generators.
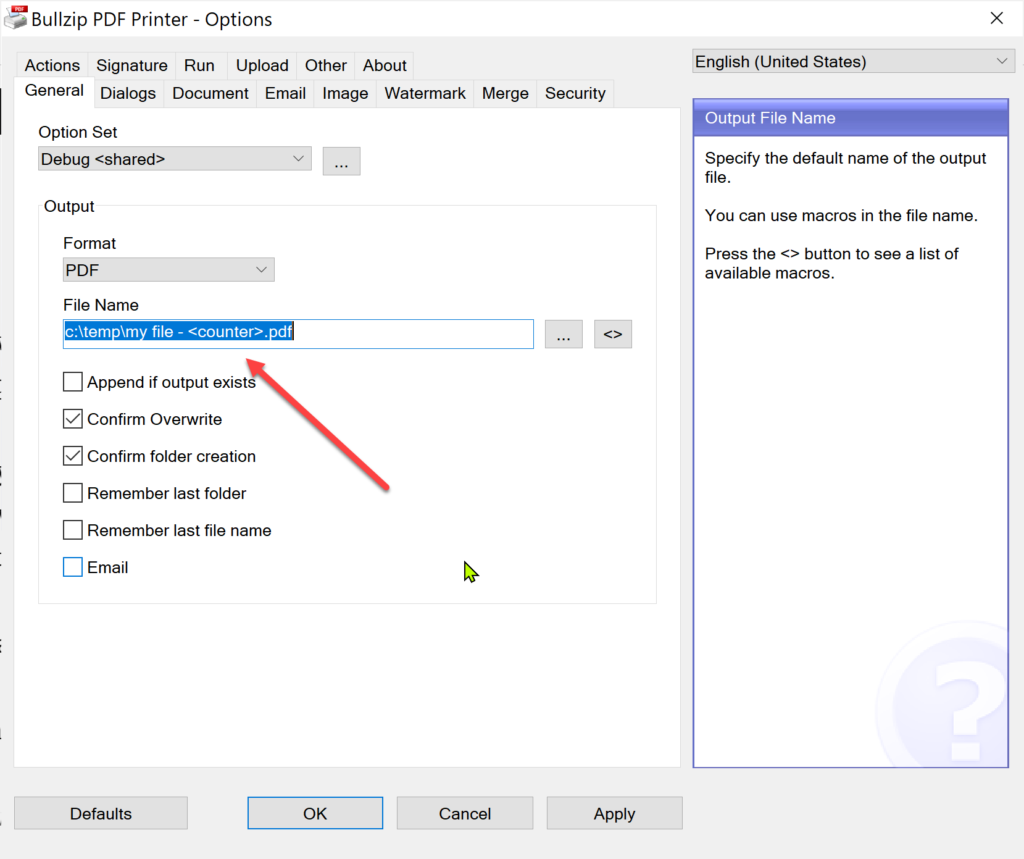
Here is an example where a counter is used.
Preset a file name with a counter
Every time the printer is used the <counter> tag will increase by one.
The list also contains a <random> and a <guid> tag for generating file names with a random part or a GUID (globally unique identifier).
You can add parameters to counter and random tags. It is also possible to have multiple counters and you can preset values for these counters if you like.
The PDF Printer has a feature that will upload the created PDF file to a server. Both FTP and HTTP uploads of the PDF document are supported. This means that you can send the documents to a web server that you have created and do some processing in a cloud application.
Uploading to an FTP or SFTP server is simply a matter of setting up a server to receive the files.
HTTP and HTTPS are supported via the normal file upload protocol. It requires that you create a script on your server that will receive the uploaded file.
You can test your upload script by creating a simple “File Upload” form on a web page. The code could look something like this:
The page that receives the file can be written using any web server language. Here is an example in PHP.
$filename = basename($_FILES["file"]["name"]);
if (move_uploaded_file($_FILES["file"]["tmp_name"],
    $filename.".tmp"))
{
    // This file is copied so that IIS
    does not set itself as owner of the file.
    copy($filename.".tmp", "uploaded-".$filename);
    unlink($filename.".tmp");
    echo "The file '".$filename."' was uploaded.";
}
else
{
    echo "Error";
}
Configure the printer for upload
You can tell the printer to upload to your HTTP handler by adding these settings:
With the PDF printer, you can send the newly created PDF to a real printer after the PDF is saved. This enables you to implement a workflow where you create a PDF archive of all your print jobs.
This post will show you how to create such an archive printer as a separate printer on your system.
First, you download the latest PDF printer and install it from a command line with the following command line switches:
Setup_BullzipPDFPrinter_11_1_0_2600_PRO_EXP.exe /SILENT /PRINTERNAME=”Archive PDF Printer”
This will install a new virtual PDF printer on your computer. The new printer is named “Archive PDF Printer”. After the installation has completed, you can use this printer as a normal PDF printer.
We need to configure it to send all print jobs to a PDF archive folder and to another real printer. This is done with the global.ini file in this location:
C:\ProgramData\PDF Writer\Archive PDF Printer\global.ini
Open the global.ini in a text editor and add the following lines:
The output setting specifies the name of the saved PDF document. The output name uses macro names that will be substituted by real information at run time. You can see a complete list of macros here:
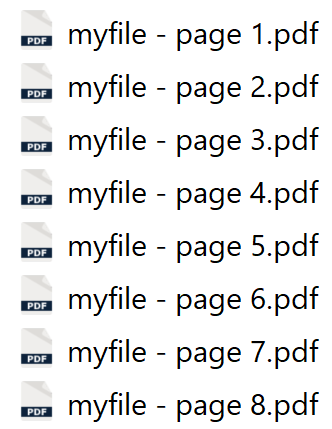
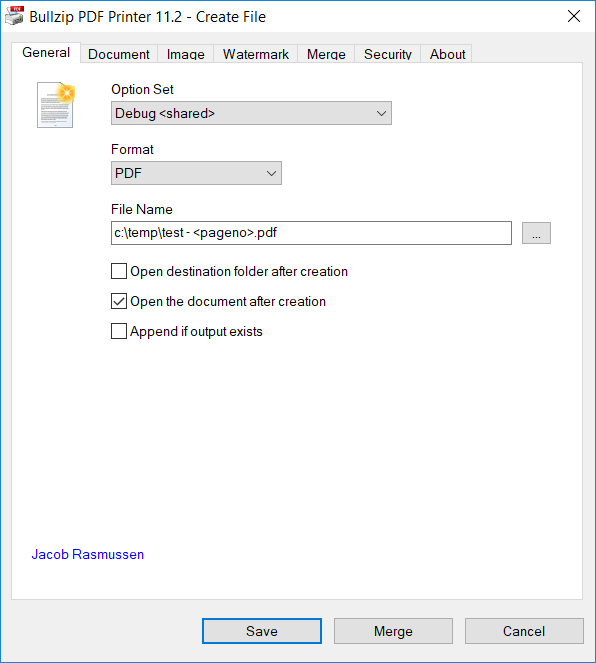
You can use the PDF Printer to split a PDF into multiple files. Each file will have one page from the original PDF.
It is as simple as adding the <pageno> macro name to the output file name. Here is an example:
Using the file name “test – <pageno>.pdf” will result in files named “test – 1.pdf” for the first page and so on.
Additional formatting can be added to the page no. If you write <pageno,3> the number will be zero padded to the length of 3 characters. The padding character can be specified as an additional parameter such as <pageno,3,->. This will create a page number like –1, –2, etc.
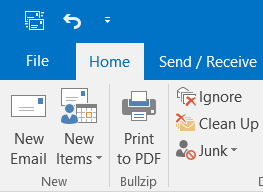
This post contains a VBA macro that will set the output file name to a cleaned version of the subject. The selected mail item is then printed.
Note that Outlook remembers the last printer used. Therefore you have to use the PDF printer before you run this macro. Otherwise, Outlook will just print to another printer.
Option Explicit

Public Sub PrintPdf()
  Dim mi As MailItem
  Dim o
  Dim p As Integer
  Dim subj As String
  Dim illegalchars As String
  Dim i As Integer
  Dim output As String
  Dim settings As Object

  For Each o In Application.ActiveExplorer.Selection
    If TypeName(o) = "MailItem" Then
       Set mi = o
       subj = mi.Subject

       Rem -- Clean reply and forward prefixes
      Do
         p = InStr(1, Left(subj, 4), ":")
         subj = Trim(Mid(subj, p + 1))
       Loop While p > 0

     Rem -- Remove illegeal file  name characters
     illegalchars = "<>:""/\|?*"
     For i = 1 To Len(illegalchars)
       subj = Replace(subj, Mid(illegalchars, i, 1), "_")
      Next

      Rem -- Remove double underscores
      Do
        p = InStr(1, subj, "__")
        subj = Replace(subj, "__", "_")
      Loop While p > 0

      Rem -- Create the COM settings object to control the printer.
      output = "C:\Temp\" & subj & ".pdf"
      Set settings = CreateObject("bullzip.PdfSettings")
      settings.SetValue "Output", output
      settings.SetValue "RememberLastFolderName", "no"

      Rem -- Write settings to the runonce.ini.
      settings.WriteSettings True

      Rem -- Print the object
      Debug.Print "Printing: " & subj
      mi.PrintOut
    End If
    Exit For
  Next
End Sub
When you have created the macro, you can customize your ribbon and give it an icon.
This article outlines how you can use the PDF printer to continue to append to the same PDF document without showing any dialogs when you print.
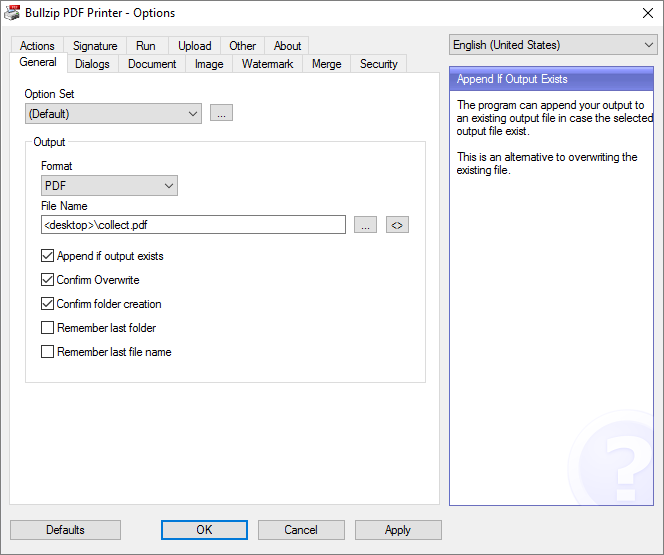
The first step is to open the options dialog from your start menu. This is where we set the default settings for the printer.
You should define an output file name. This is the file that will collect our print jobs over time. Each time you want to start over, you should delete this file. In addition to that you enable the Append if output exists.
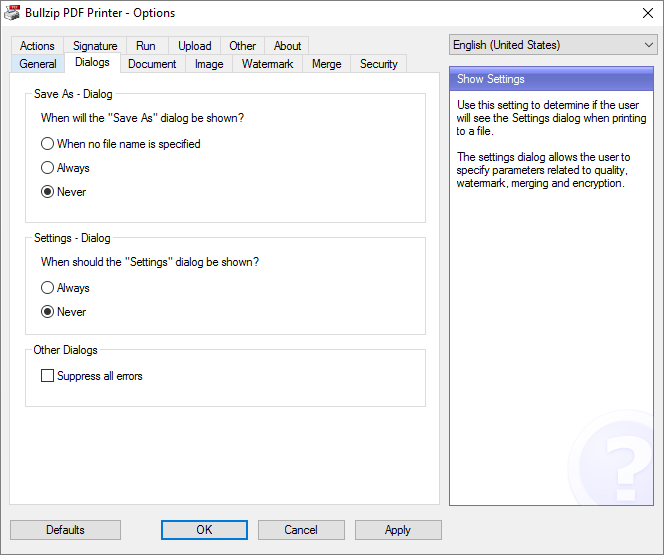
On the Dialogs tab, you select never and never to hide all the dialogs.
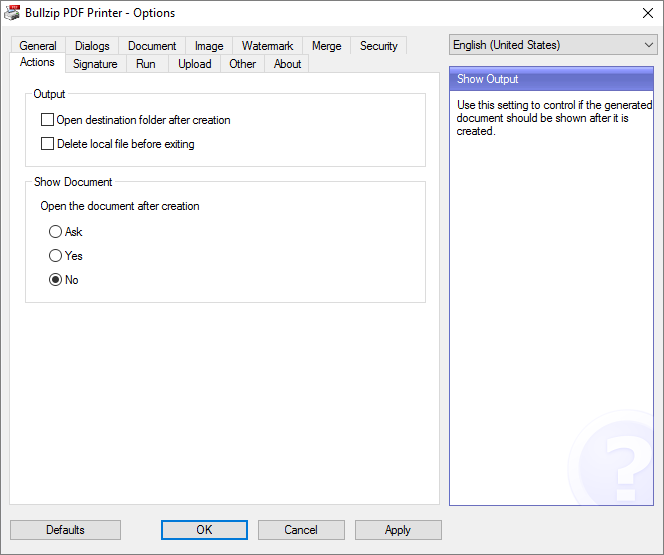
Select no in Open the document after creation to prevent the PDF from opening when the print is finished.
That is all. Now you can print to the PDF printer and it will continue to build you collect.pdf on your desktop.
If you is something you need on a regular basis, you can install a second PDF printer with another name and configure that to collect the print jobs.