Sometimes you get unexpected results when you use a PDF document as a background.
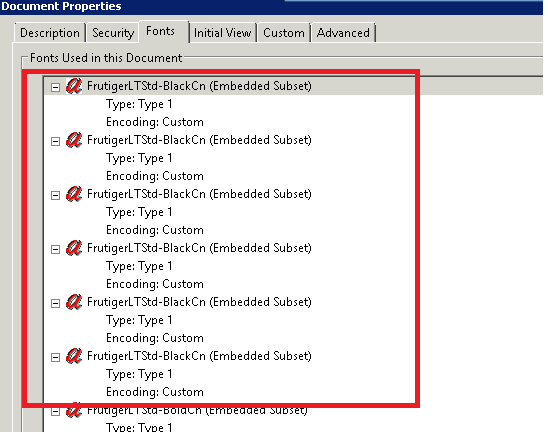
A PDF used as a background in a merge or superimpose operation is often referred to as the letterhead, watermark, logo, or briefpapier (in German). These documents can have properties that make them unsuited for this purpose. Among the common problems are font, color model, and transparency issues.
The result of using a problematic PDF is often strange colors or strange-looking text.
Normally, you can clean the PDF by printing it to a new PDF. This process can rewrite the structure of the document so that it can be used in the merge or superimpose operation.
A method that often works is to open the PDF in Adobe Reader and print it to a Bullzip PDF Printer installed in XPS mode. The method is not bulletproof but is often a good first try.
Text that looked strange before will most likely be fixed. However, you may not be able to select and copy/paste it as text anymore. Also, colors are now likely to be close to the original but there may still be small differences.
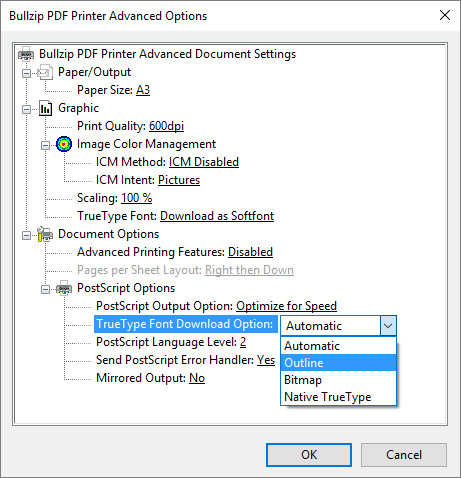
You can play around with this process to see if you can get a better result. Here are some parameters that you can test with different values.
- Try to print it from other PDF readers such as Bullzip PDF Studio or Sumatra PDF.
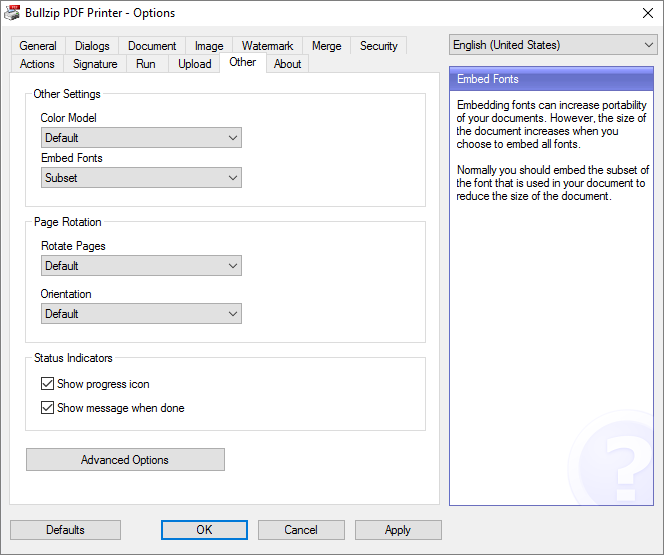
- DPI and color models.
- Print quality setting on the document tab.
It is often a combination of printing the PDF from a specific PDF viewer to a specific PDF printer that will remove the commands that are causing the problem.
Here are some PDF viewers to try:
- Bullzip PDF Studio
- Adobe PDF Reader
- Sumatra PDF Reader
Combine that with printing to one of these PDF printers:
- Bullzip PDF Printer
- Bullzip PDF Printer in XPS mode
- Microsoft Print to PDF
If you cannot fix the PDF yourself, then it may be an option to go back to the designer and have them try to create a PDF without transparency and special font information. It may be that they can change some settings in the PDF export that will fix the problem.