Dataceptor - User Guide
Content
Prerequisites
Before you are able to run the program you need the following installed on your system:
- Microsoft Windows NT4/2000/XP/2003
- Microsoft Excel
Installation
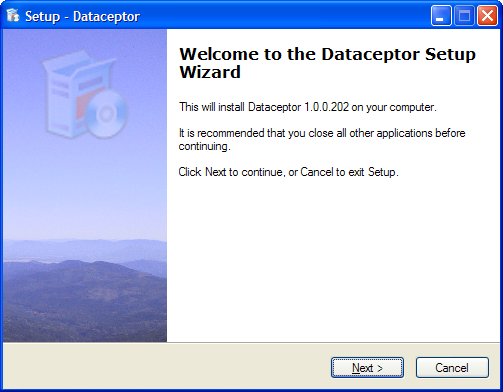
The installation is very simple. Just download the setup program and run it. A wizard will guide you through the installation.
After the installation has finished you can find the program icon shown below on your desktop. If you did not choose to install the program icon on the desktop then the program can be started from the start menu.
![]()
Click the icon to start the Dataceptor server.
When the server is started you will see the server dialog shown below. This window will show you the status of the Dataceptor server. It is a small web server responding to requests from browsers on the network.

After the server has started it will open a browser and browse to the administration module. The administration module is where you define your forms and setup the users.

Click the Exit icon to exit the administration pages and go to the demo application.
![]()
The home page of the demo application will show you a short welcome screen.

Use the menu on the left to navigate the application. Click the "Products" link to see a list of products in the database. The product page will show you how you can use images together with the data in your database tables.

Click the "Customers" entry in the menu and you will get a list of customers in the database. The "Customers" form gives you an example where you can search the database table.

The revenue by month is show as a graph generated by Microsoft Excel. Each type of graph in the system is based on an Excel file as a template. By changing this template you can control the type of graph and the colors used.

The Revenue By Year is an example of how the Excel template can be changed to display a completly different type of graph. In this case a pie chart is used.

Settings
Server Settings

Database Settings
