On this page, you can find older and current versions of some of the dependencies.
gslite.exe
xpdfsetup.exe
pdfpowertool_setup.exe
How to get the best value from our products
We get notifications about virus detection software that raises a flag on our products from time to time.
Alerts are triggered because specific program code match patterns shared by malicious code. While some anti-virus programs look at the context of the code, others are more prone to raise an alert as soon as a pattern is matched.
Because the programs sometimes use code obfuscation to protect the intellectual property, it is hard for the detection to see the context. On top of that, some viruses are distributed using the same type of obfuscation and therefore producing some of the same code patterns.
Before we release new versions of our programs, we try to scan the release candidates with as many different brands of anti-virus software as possible. We do this to change some of the code to minimize the number of triggered alerts for false positives. However, this is a moving target because the searched patterns change over time.
If you find a detection alert, you are welcome to send us information about it. We will look at it and see if we can change the code signature to prevent it in the future. This will help us improve the software over time.
Our installers are signed with digital certificates to prevent code changes. Make sure that you have checked the signature before you install it. You should generally validate the signature on everything you get via the Internet.
We do not consider it a realistic target to have zero detections across all brands of anti-virus software at all times. If only one or two brands detect something, it may be better to contact them about the triggered event.
The PDF printer was originally based on converting the output from Postscript drivers to PDF. This way of doing it has served the purpose well for a long time. However, sometimes the output can convert in ways that do not serve the end purpose well.
Especially font issues have been a reason to look for alternatives to the Postscript driver technology. Postscript has built-in fonts and different strategies for embedding subsets of fonts which may not work well with software that tries to read or copy/paste the content of PDF documents.
To fix some of the Postscript related issues we have added the option to use an XPS based driver. The functionality of the XPS based approach supports fewer features but it solves some of the other issues.
You can tell the installer to add a PDF printer based on an XPS driver by adding the /XPS switch to the command line of the setup program.
The following command line is an example that shows how to add an extra PDF printer named “PDF Printer (XPS)” to your system.
Setup_BullzipPDFPrinter_14_4_0_2963.exe /XPS /PRINTERNAME="PDF Printer (XPS)"
The new printer will ask the printing application to print using an XPS based driver and convert the output to PDF.
You may find yourself in a situation where you are migrating your applications and data to a new workstation or server. The PDF printer may be part of this migration and you would like to know how to get the settings from the old machine to the new machine. In that case, this article is for you.
Unless you really have a good reason to install the same old version of the PDF printer as you had on the old system, I strongly recommend that you use the latest installer to install your new PDF printer. Download and install the latest available version before you try to move the configuration.
The printer has a set of global settings and possibly some user specific settings to.
In C:\ProgramData\PDF Writer\Bullzip PDF Printer you will find the global settings in a file named global.ini. You can copy this file to the same location on the new machine. These settings apply to all users on the system.
The users have their settings stored in settings.ini found in %APPDATA%\PDF Writer\Bullzip PDF Printer.
Option sets shared between users are located in the folder C:\ProgramData\PDF Writer\Bullzip PDF Printer\Option Sets. The files can be copied to the new machine.
By copying the files mentioned above, you should get a PDF printer behavior, which is more or less the same as on the old system.
If you have a license on your old computer, you can move it to the new computer. The license file is named license.xml. It is located it the printer’s program folder. This is typically under C:\Program Files\Bullzip\PDF Printer. Simply move the file and you are done.
Sometimes the installer fails to add the PDF printer to your list of installed printers. There can be many reasons for that. Maybe your system does not have the normal drivers available because your system administrator deleted them to save disk space. Maybe your spooler service is disabled for some reason or other things could be the problem.
When you troubleshoot the printer installation, it can be a good test to see if you can install the printer manually through the normal Windows interface to do so. This article will show you the steps to do that on a Windows 10 system. Most other versions of Windows have similar dialogs but they may look slightly different.
Open your Devices and Printers window.
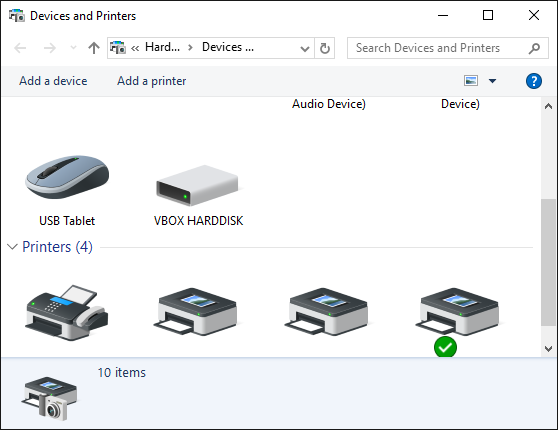
Click the Add a printer menu item.
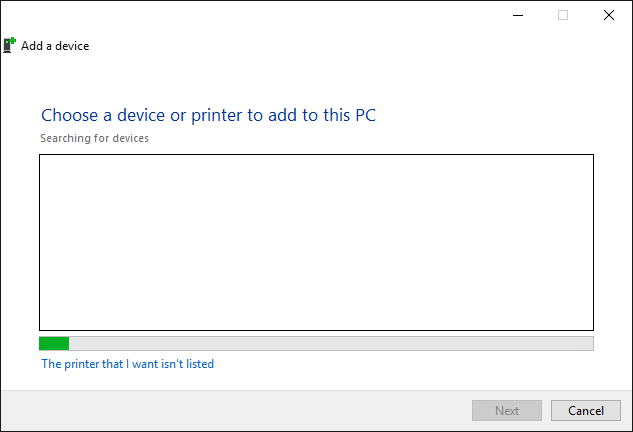
Click The printer I want isn’t listed
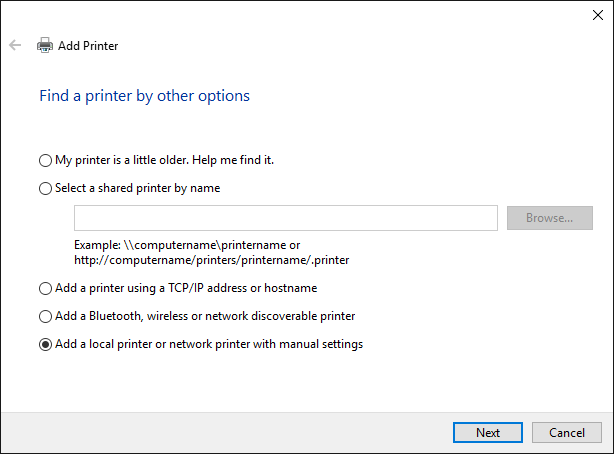
Add a local printer
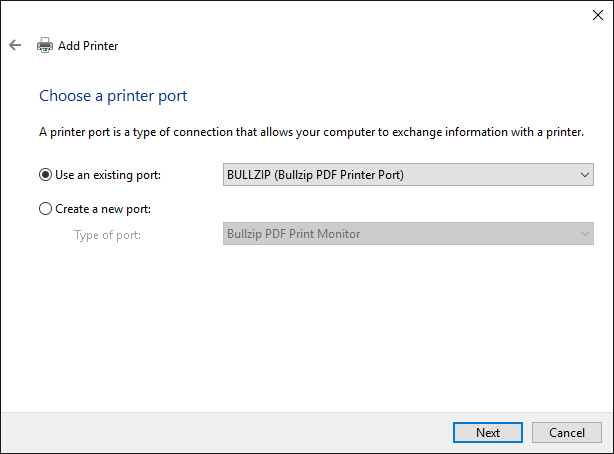
Choose the BULLZIP port
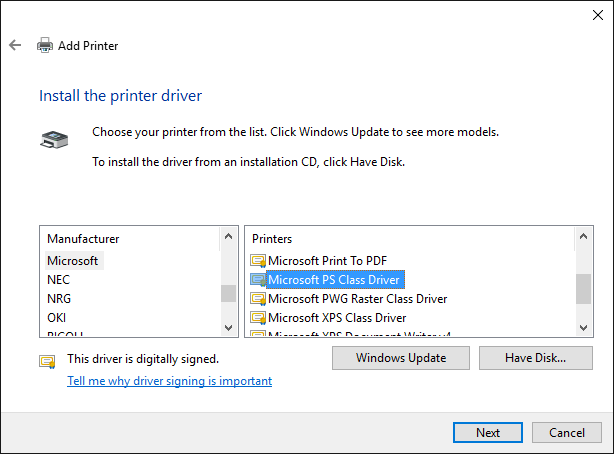
Locate the Microsoft PS Class Driver and select it.
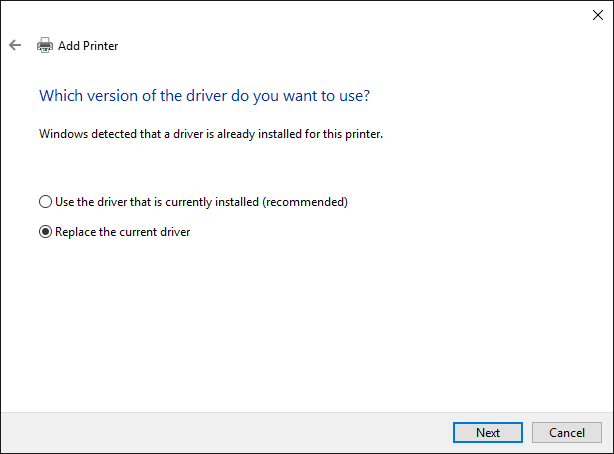
Replace the driver if needed
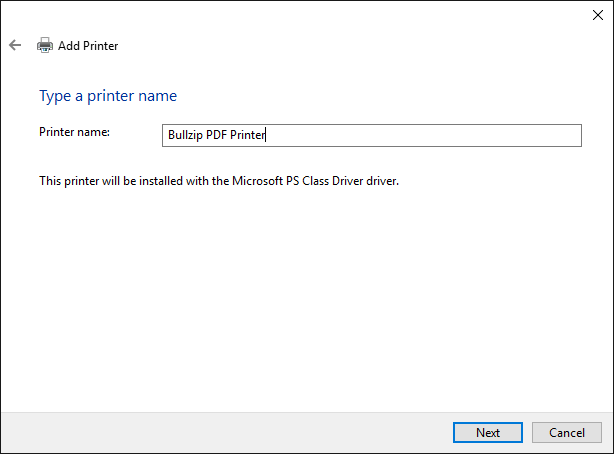
Name the printer
In case the installation of the PDF printer runs into problems it can be useful to send the installation log to our support. You can locate the installer log in your folder to temporary files. To get to that folder you simply enter %temp% in the address bar in your Windows File Explorer.
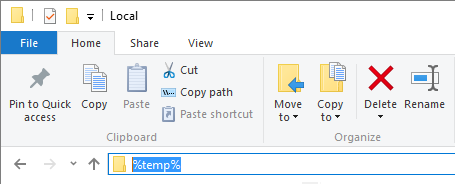
After you hit enter, you are taken to the folder for temporary files. Look for a file named Setup Log plus the date.
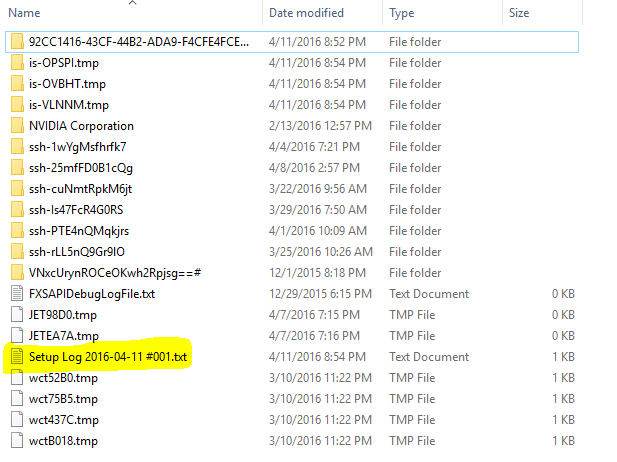
Once it is located, you can easily attach it to an email.
This is a description of how you install the Bullzip PDF Printer. The dialogs shown in this walk-through is from an installation on Windows 10. If you have a different version of Windows, the dialogs may look slightly different.
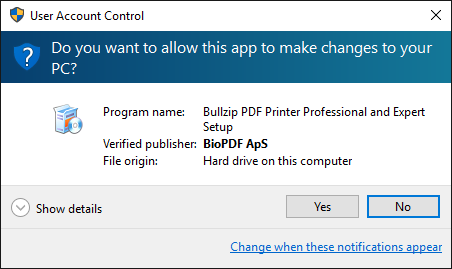
When you run the downloaded setup program it will ask for administrator access to install the software on your PC.
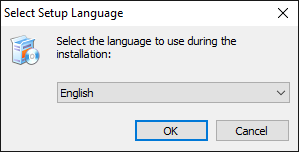
The first step of the installation will prompt you for the preferred language. This will determine the language of the installation process and the default language for the installed PDF printer. You can always change this later in the PDF printer options dialog.
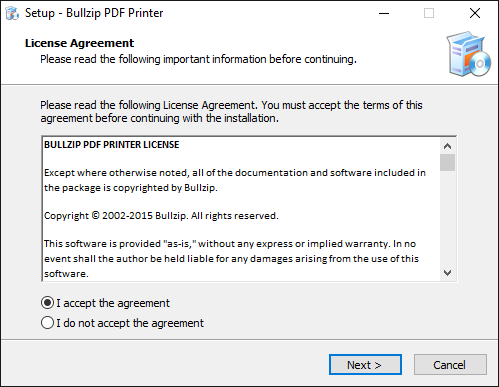
A license agreement is shown after the language selection.
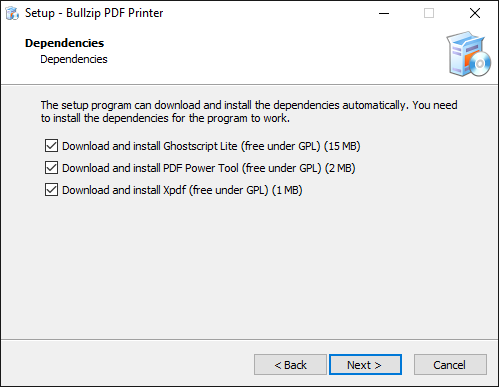
The PDF printer depends on other components to run. It can download these components automatically for you. Normally, you want to install all these components. They are all needed for specific features and does not contain any mallware as you sometimes find with other software installers.
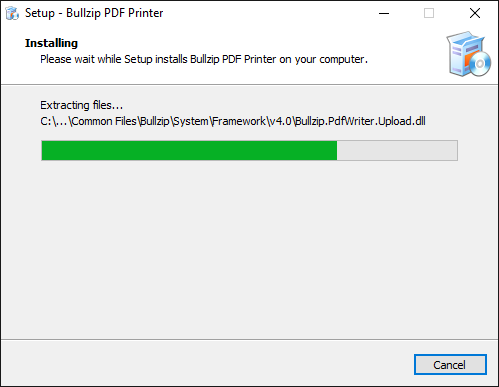
Installation can take a short while. Be patient.
When the installation is finished, this screen is shown.
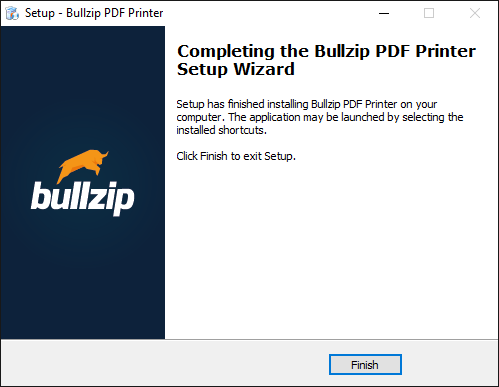
You are new ready to print your first PDF file.