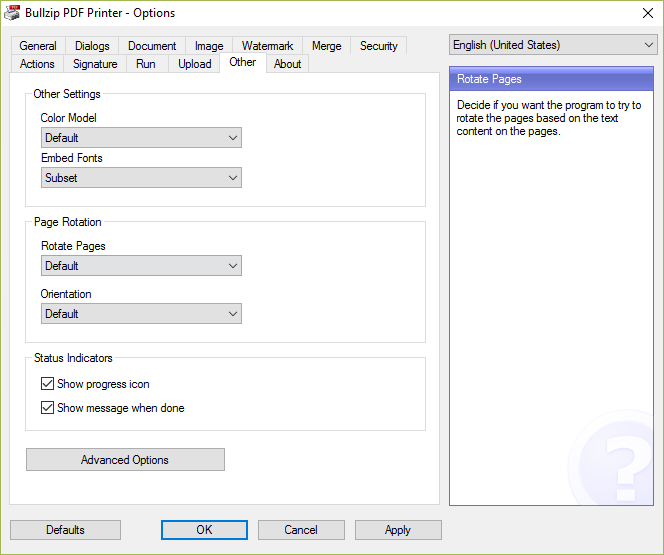
By default, the pages will be rotated automatically based on the text content in the document. However, you may want to change this default behavior from time to time. Sometimes the program cannot find any text to base the decision on. It can also be the case that you have multiple lines of text written at different angles.
You can change the default rotation options on the “Other” tab in the Options dialog.
You can experiment with these settings to get the result you want.
If the text in your document is printed as graphics it cannot be used by the program to determine the orientation.
This will show you how to use the custom paper size when creating a PDF document.
Please note that you should lower your DPI setting if you create very large custom pages. Otherwise, the resulting file size will increase dramatically. You can experiment with this feature to find the right mix between file size and output resolution.
Custom Page Size Example
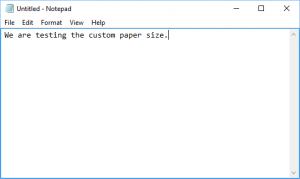
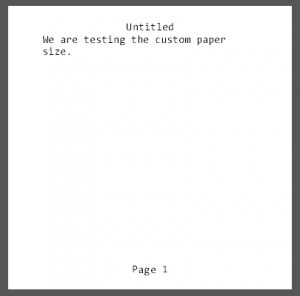
Let us create a small text in Notepad.
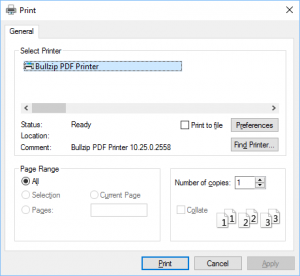
Then we print the document.
Click Preferences
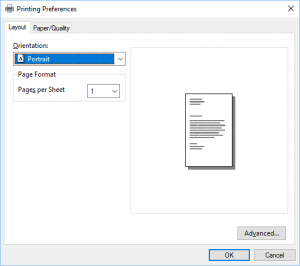
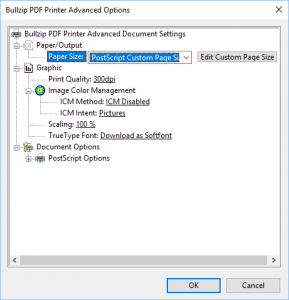
Go to the advanced settings
Select the PostScript Custom Page Size
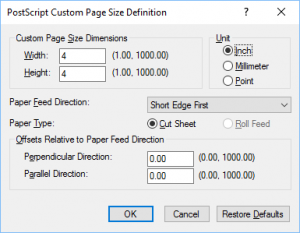
Edit the custom page size to the dimensions
The resulting PDF should match the custom page size you selected
One of our users asked us to pass a hint to other Bullzip users of Silhouette Studio. The hint was to direct your attention to a post written by Melissa where she guides you through printing large page sizes.
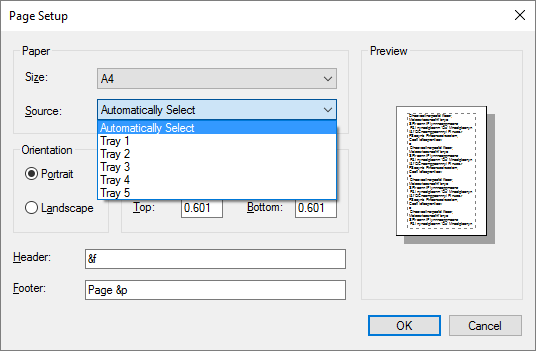
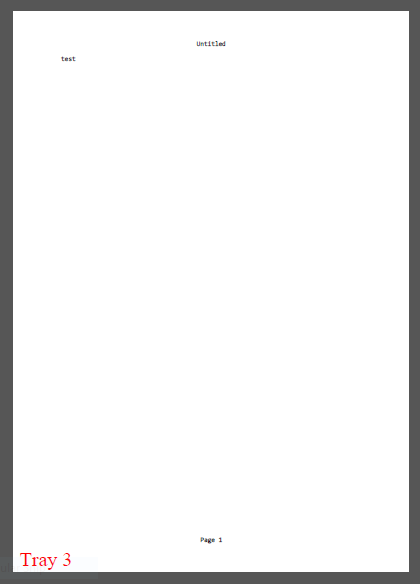
By default, the PDF printer does not have any paper trays installed. However, you can add virtual trays to your PDF printer if you want.
In this example, we will add 5 trays for debugging purposes. The trays will be named Tray 1 through 5 and they will each add the tray name to the printed page.
To install the trays, you simply add the following lines to the end of the printer’s PPD file: